- Growing Guide
-
by John Pot
You’ve saved up a couple of marijuana seeds – even a lucky one from that amazing strain – so you decide to plop them in some earth and grow your own, but unfortunately, despite your most tender care, your new plant dies. We’ve all been there and there’s no reason we shouldn’t try again, but it’s far more time-efficient learning from someone else’s mistakes. That’s exactly why I’m here.
Back in the spring of 2019, I dug up some of the lawn for a vegetable patch. Other than some delicious watermelons, there were few things I got right. As aspiring green thumbs it’s easy to let our excitement get the better of us, spurring us to dig in before doing any homework. But don’t curb your excitement; as it turns out it’s actually rather simple. Cannabis plants are very introverted and are best left to their own devices, though there are some conditions to be met if your plant is to thrive. Fret not – you’ll be picking your own nugs before you can say “backyard agriculture”.
It all started with a seed
One of the first things we’d want to do is acquire seeds, and here we have a couple of options. One could visit a website like marijuanasa.co.za and order seeds there; this provides access to a variety of strains as well as exclusively feminized seeds (more on this later; in short, having only female plants means no pollination, and therefore no seeds). This does cost a buck, though, so for us beginners it’s best to start with the seeds left at the bottom of the baggie.
Location, location, location – picking our growing space
Now it’s time to determine where we’ll be growing our marijuana. Indoors it’s possible to control the plant’s growing environment to a tee, though this could require a setup that some of us might find a little daunting. Luckily there are options ranging from on-a-budget DIY to precision engineering. The most luscious buds are produced in conditions closest to the ideal for cannabis, but as beginners, we needn’t fret if our product doesn’t sport trichomes to the effect of a bumblebee’s bottom – bringing it to flower is our primary goal.
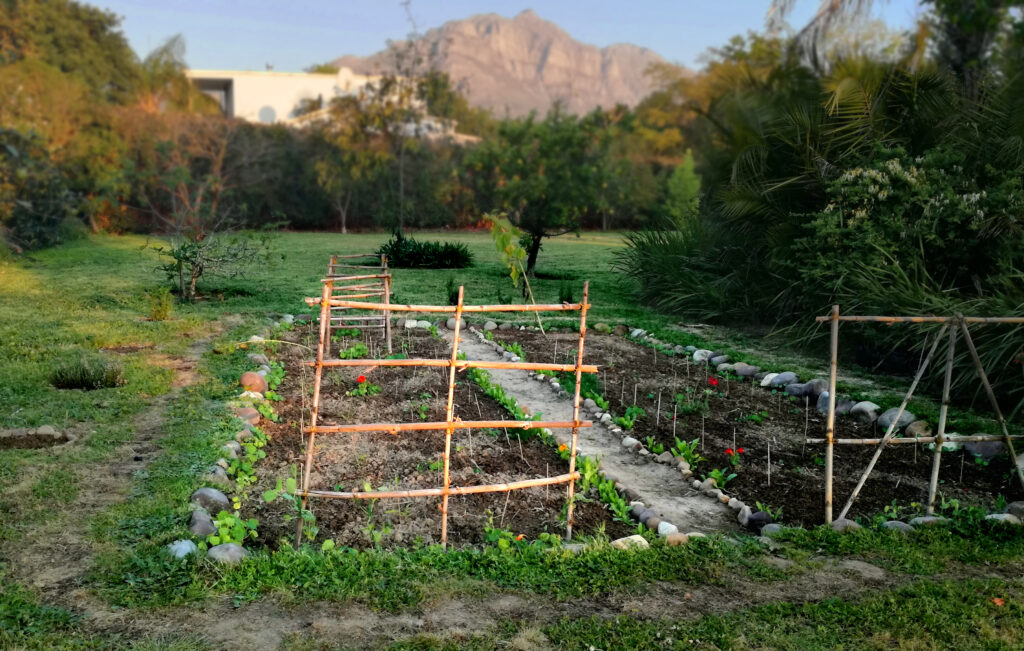
Given that I’ve already got a growing space, I’ve opted to grow mine outside. I picked a nice spot on my veggie patch’s border, hidden from disapproving neighbours by some giant poppies, where it’ll get 8 hours of sunlight and have room to grow. I’ve made sure that people and pets (hopefully) won’t tread on the bedding, as compressed soil doesn’t allow oxygen, water, and nutrients to filter to the plant’s roots, them also having a much easier time spreading out in looser soil.
If you’ve chosen to grow yours inside, you’ll need to get your hands on some growing lights as a windowsill doesn’t host the needed amount of daylight. Some growing lights, like fluorescents and some LEDs, are very simple to install, though at the cost of being less efficient, while others, like HIDs, are superior but need bulky ventilation systems. Growing lights should be used as a “daylight simulator”, turning them on for 8 hours every day. An indoor setup also lets you play with humidity chambers and other forms of environmental fine-tuning, but for now we’ll be keeping it simple.
The nitty-gritty – preparing our growing space
After harvesting my watermelons last autumn, I worked in a good helping of organic compost and then grew a cover crop through the winter which I tilled back into the bedding only a few weeks ago. Yet even though my next crop of fruits and vegetables should thrive, I still need to make sure that the soil has the right nutrients and pH level for growing cannabis. Our green friend likes slightly acidic soil, at a pH of around 6.0 – 7.0. A simple pH test kit from the hardware store or nursery will tell you if you need to raise or lower the acidity. Whichever it is, just ask for the appropriate product, follow the instructions, and test your soil again, making adjustments as necessary. It’s a simple process, but essential to your plant’s health. Be sure to do the same with your soil if you’re planting indoors.
The next thing we need to consider is nutrients. Cannabis plants have a two-stage life cycle: a vegetative stage where it’s growing to maturity, and a flowering stage where it’s making the desired product. Each stage calls for different amounts of certain minerals, but for now let’s focus on the first. In the vegetative stage, cannabis requires a hearty amount of nitrogen and potassium, and a respectable serving of phosphorus. If your soil is already full of organic matter from compost and previous plants, with a loamy consistency and dark colour, you’re all set and don’t need to worry about making any improvements beyond perfecting your pH levels. However, if like me you’ve got more clay-like or barren soil, you’ll want to pick up some plant food while out getting the pH test kit. Whatever you do, don’t use those all-in-one fertilizers or anything that says “slow release” – this will result in the wrong balance of nutrients during the flowering stage, which may burn the plant and reduce your yield in size and quality.
For the vegetative stage, our cannabis plants will need something with a high amount of nitrogen and potassium and a medium amount of phosphorus. The easiest is to ask the sales clerk at your store, but otherwise look for the three numbers on the plant food bags – that’s the N-P-K which tells you the ratio of nitrogen to phosphorus to potassium. Simply follow the instruction on the bag and you’re good to go!
Sow and you shall reap – starting our seeds
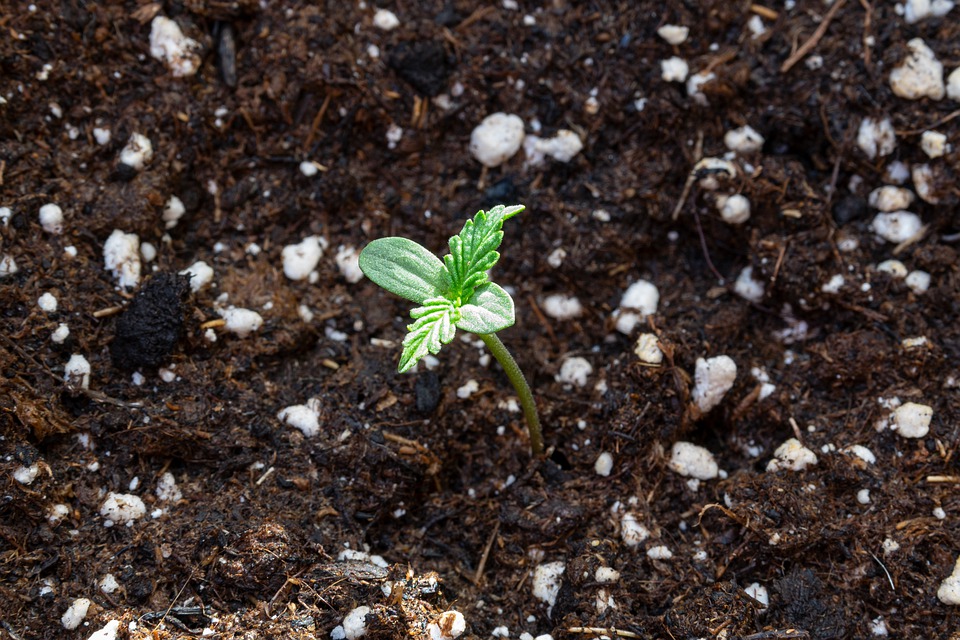
Here we have two options: planting your seeds directly into the soil, or letting them germinate in a seedling tray containing soil, peat, or a blend of the two, then transplanting them after they’ve grown their third set of leaves. Plants generally don’t like being bothered, cannabis especially, so the direct planting method is your best bet for indoor growing. Out in the garden, however, there are all sorts of beasties like cutworms that prey on sproutlings, so transplanting them from trays may be a better option here. The great thing about using peat as a germination medium is that it’s perfect for acid-loving plants like cannabis and promotes strong root growth, so feel free to mix some in with your soil anyway if you’re planting directly. Whichever you choose, be sure not to press the seeds into the soil; just make a small hole about a centimetre deep, pop in a seed, and cover it up with 4 – 5 millimetres of lose earth or peat, taking care not to compress it.
So let’s recap:
- Cannabis plants need 8 hours of light, artificial or sun,
- slightly acidic soil rich in nitrogen, potassium, and phosphorus;
- and can be planted directly or transplanted from trays.
That should do it! Next month, when all our seeds have germinated, we’ll dive into caring for your plant as it grows; monitoring it for deficiencies, pests, and diseases, and how you can actively improve the environment without directly tampering with the cannabis itself.